So, maybe your garage door opener just stopped working one morning. Or maybe it’s been acting up for a while — strange noises, sluggish movement, or that stubborn remote that only works if you stand just right. You’re not alone. For homeowners and DIY tinkerers alike, garage door opener issues sneak up when you least expect them.
And here’s the thing: you don’t always need a whole new system. Sometimes, the fix is surprisingly small — a worn-out gear, a confused logic board, or just a dying remote. But finding the right Craftsman garage door opener parts? That’s where most people get stuck. Especially with all the different part numbers, models, and… wait, was that a chain drive or a belt drive?
This guide walks you through it — with just enough detail to feel helpful, but not overwhelming. You’ll learn how to find exactly what your Craftsman opener needs (not just what looks right online), avoid the wrong parts, and get your garage door moving like it used to.
How to Choose the Right Craftsman Garage Door Opener Parts in 7 Easy Steps

Before diving into each step, it helps to think of your garage door opener like a mini ecosystem. Each part — from the garage door safety sensors to the logic board, and even the light lens cover — has to play nicely with the others. A mismatch can throw the whole system off. So yeah, part compatibility? Kind of a big deal.
And not just for performance. Using the wrong garage door opener replacement parts can damage your opener or, worse, compromise its safety systems. Craftsman systems (especially older models) are pretty specific, even if they share DNA with Chamberlain or LiftMaster units.
We’re going to look at how to:
- Identify your Craftsman model (trust me, this solves half your problems upfront)
- Understand what each part does and how it fails
- Use compatibility charts and cross-references the smart way
- Buy with confidence — even online
If you’re the type who wants things working — without diving too deep into techy rabbit holes — this one’s for you.
Let’s start with the basics.
Step 1 – Identify Your Craftsman Garage Door Opener Model
Where to Find the Model Number
First things first — grab a flashlight.
The model number is usually printed on a small sticker. You’ll typically find it:
- Under or behind the light lens cover
- On the motor housing itself
- Or, if you registered it, in your online Craftsman/Sears account or the original operator manual
Here’s what that label might look like:
| Label Area | Common Info You’ll See |
|---|---|
| Under light lens | Model No., Motor Type, Frequency |
| Side of motor housing | Serial No., Manufacturing Date |
| Manual cover page | Compatible remote controls listed |
Even if the unit’s dusty or faded, the number is usually still there — though you might have to wipe away years of garage dust (and maybe a spider or two).
Why Model Number Accuracy Is Crucial
Let’s say you guess wrong. You order a garage door opener remote replacement, and… it doesn’t sync. Or you replace the logic board, and suddenly nothing works. That’s frustrating — and unfortunately, pretty common.
Craftsman, especially under the Sears Craftsman name, has released dozens of models over the years. Some are chain drive openers, others belt drive, and some older ones even use the now less-common screw drive rail assembly.
Your exact model number unlocks the map — it tells you:
- What frequency your remote runs on (like 315MHz or 390MHz)
- Which gear kit matches your motor
- What garage door safety sensor kit is compatible
- Whether you need a square rail or curved door arm section
Without it, you’re kind of guessing. And with something as mechanical and safety-sensitive as a garage door opener, guessing is… not ideal.
Pro Tip: Take a quick pic of the model label with your phone. That way, you can refer to it when shopping — especially on sites like Amazon or North Shore Commercial Door where part.
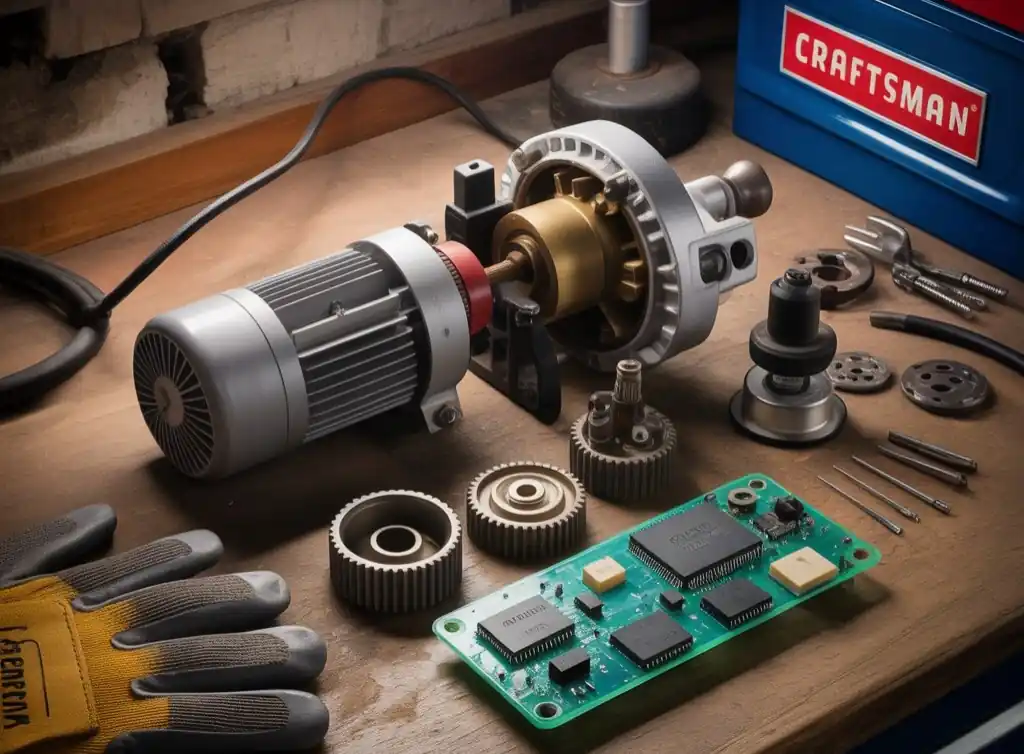
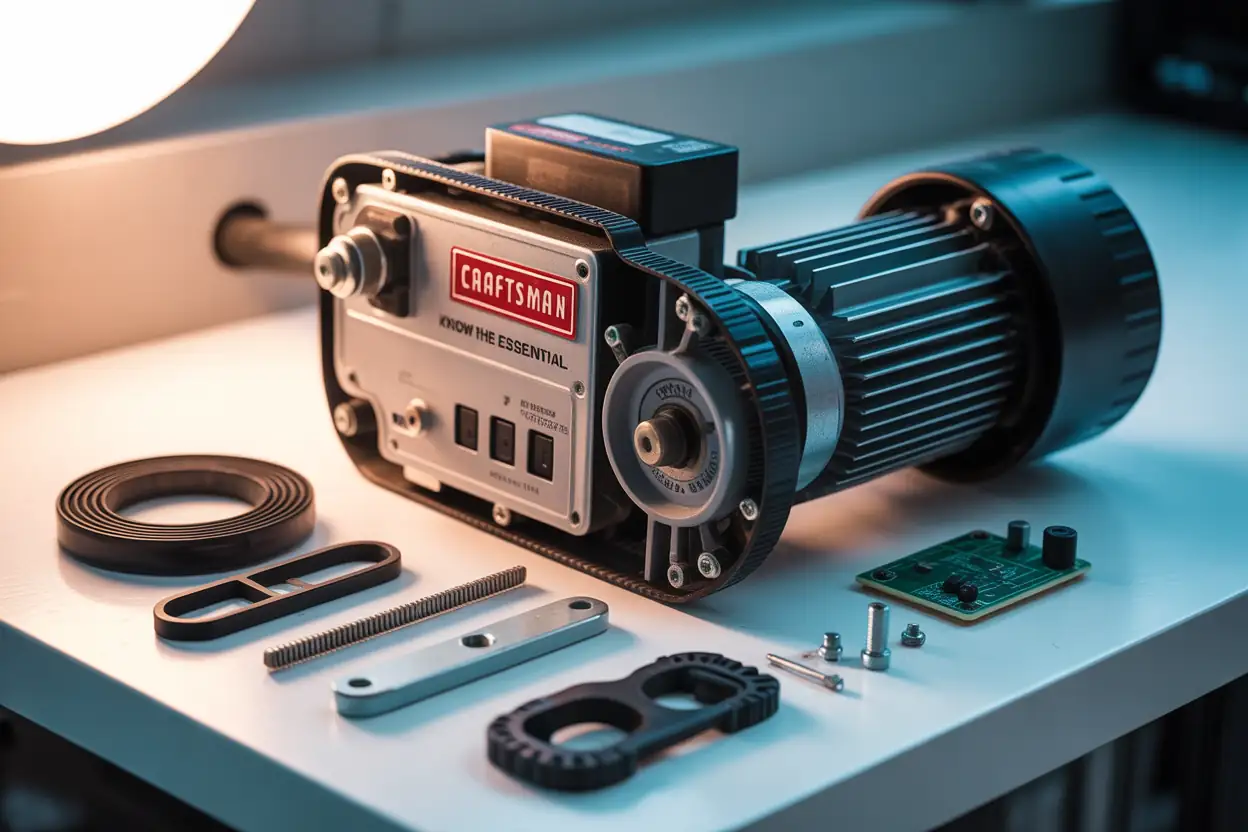
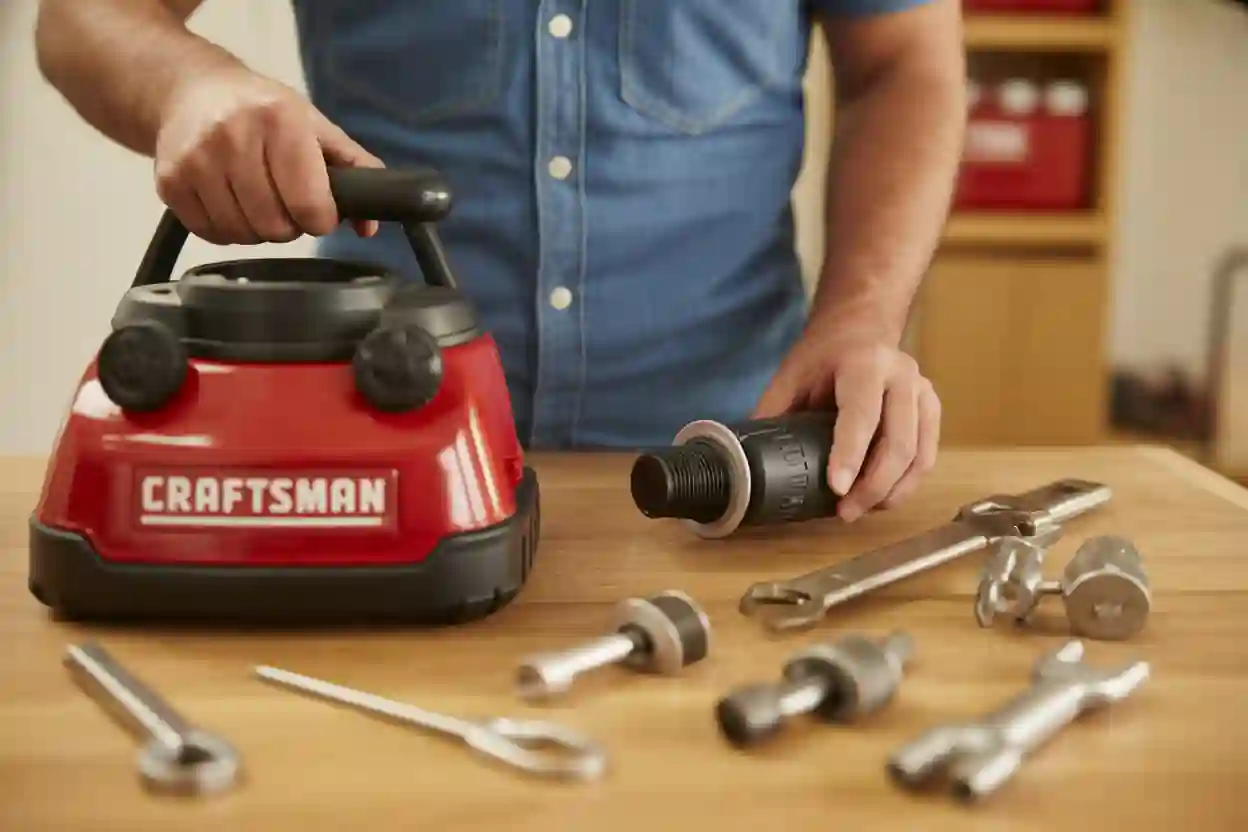
Step 2 – Know the Essential Craftsman Opener Components
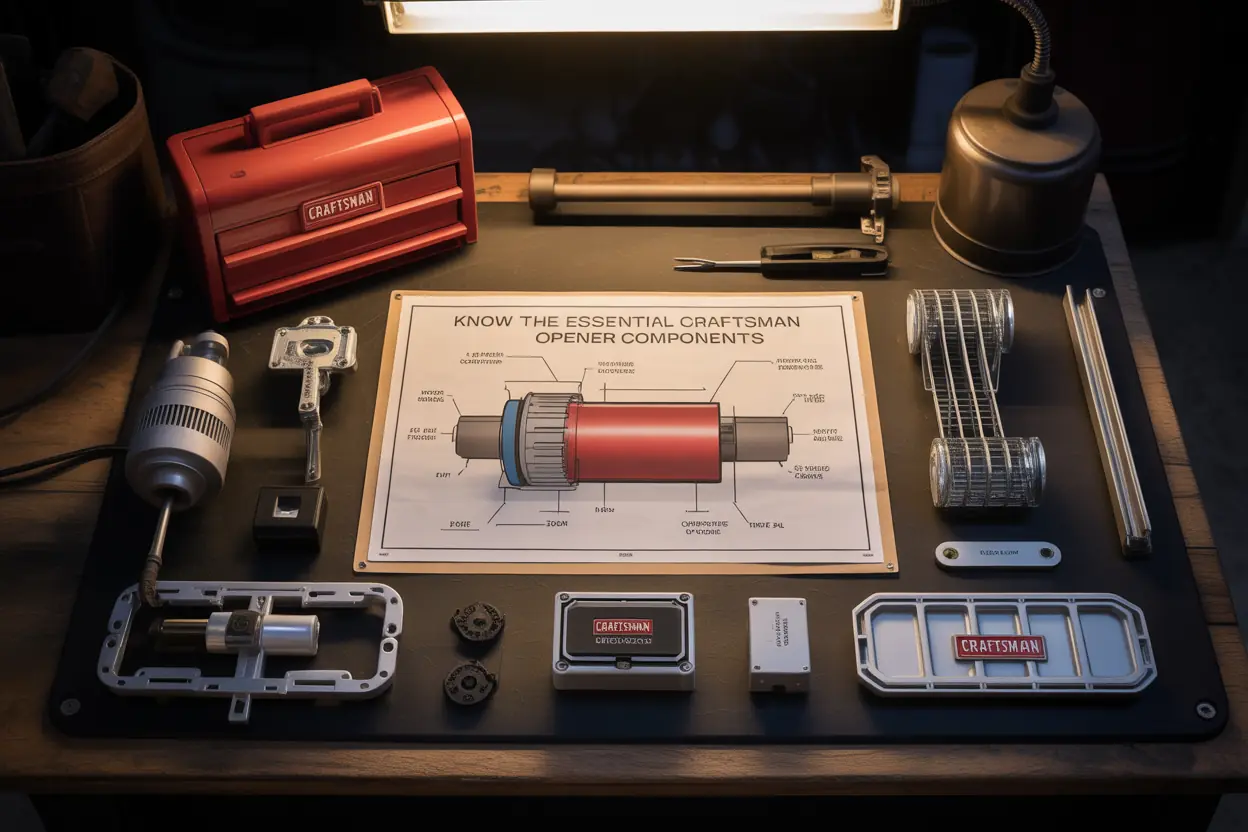
Breakdown of Main Parts
When you’re dealing with Craftsman garage door opener parts, it’s helpful to understand what each part actually does. That way, when something goes wrong — and let’s face it, it usually does at the worst time — you can zero in on the culprit instead of just swapping random components.
Here’s a quick rundown of the major parts inside most Craftsman garage door systems:
| Component | What It Does |
|---|---|
| Garage Door Motor | Powers the system. Usually AC or DC motor. |
| Trolley Assembly | Moves along the rail to open/close the door. |
| Rail (Chain/Belt/Screw) | The track — guides the trolley. Varies by opener type. |
| Logic Board | Acts as the brain — interprets signals from remotes/sensors. |
| Garage Safety Sensors | Prevents the door from closing on objects or people. |
| Garage Door Remote | Sends signal to open/close the door. |
| Capacitor 56uf | Helps the motor start up with enough torque. |
| Gear Kit / Sprocket Kit | Transfers motion from motor to drive system. Often wears out with age. |
| Limit Switch Kit | Tells the opener when to stop opening or closing. |
| Light Lens Cover | Protects the light bulb and circuitry beneath it. |
So yeah, a garage door opener isn’t just one gadget. It’s more like a mini machine with moving parts, circuit logic, and safety layers — all working together (when they’re working at all).
Signs of Wear or Damage
Let’s say you notice:
- Weird grinding or whining sounds when opening the door
- The door starts closing… then stops halfway up
- One garage door sensor blinks while the other stays dark
- Or your remote works only when you’re two feet away
Those are red flags. And usually, they point to one or more of the following problems:
- A worn gear kit (especially common in older Craftsman 1/2 hp garage door openers)
- Misaligned or dirty garage safety sensor eyes
- A cracked or slipping belt drive rail assembly
- An outdated or damaged logic board — especially if your system randomly opens on its own
Pro Tip: If your remote control visor clip is broken or lost — yep, even that has a part number. You’ll find replacements bundled with mini keychain remotes or as standalone parts for just a few bucks.
Also, always check if your garage opener remote replacement has a matching frequency. Some run on 390 MHz (older Billion Code Series), while newer ones use Security+ 2.0 with tri-band operating frequency — big difference.
Step 3 – Match Parts Based on Compatibility
Now this is where things get… oddly satisfying, if you’re into tracking model histories.
Sears didn’t manufacture openers themselves. Most Craftsman garage door opener parts are actually made by Chamberlain — the same company behind LiftMaster and Chamberlain-branded openers. That’s good news for you. Why? Because many Craftsman parts are interchangeable with LiftMaster equivalents.
So when you can’t find a part labeled Craftsman garage door opener parts directly, look up:
- LiftMaster 380UT Universal Remote
- Chain drive rail assembly (shared with Chamberlain models)
- Or garage door opener compatibility charts from parts retailers like North Shore Commercial Door
Sometimes you’ll spot the same logic board, sprocket kit, or even control box listed under both names — just with different packaging.
Example: Craftsman model 139.53985 and LiftMaster 3255 both use a chain drive system and share the same RPM sensor and master link kit.
Just be careful. Not all parts are cross-compatible — especially when it comes to myQ technology or Wi-Fi connectivity features. That’s when your model number (yep, we’re circling back) becomes crucial again.
OEM vs Aftermarket Parts
Here’s a debate that pops up a lot on DIY forums and Reddit threads.
Do you go OEM (original equipment manufacturer) or save a little and try aftermarket garage door parts?
OEM Craftsman parts:
- Are guaranteed to match (if you’ve got the model number right)
- Usually include full installation instructions
- Cost a bit more — but come with warranties or return options
Aftermarket parts:
- Are cheaper and sometimes come in bundles (like a full installation hardware bag)
- May fit multiple brands — but not always perfectly
- Occasionally require minor tweaks or re-fitting (especially logic boards and garage door light lens covers)
Step 4 – Choose the Right Replacement Remote or Keypad
Okay, so here’s where things get a little technical — but also kind of cool.
Your Craftsman garage door opener remote doesn’t just talk to the opener magically. It uses radio frequency (RF) signals, usually in either 315 MHz or 390 MHz. Sounds like just numbers, right? But if you get the frequency wrong, your remote will basically just be a keychain.
Here’s how to check your frequency:
- Look at the learn button on the back or side of your opener motor.
- Purple button = 315 MHz
- Red/orange button = 390 MHz
- Green button = Billion Code Series (usually older models)
- Check the manual or look for a sticker near the antenna wire
- Some newer models support tri-band operating frequency — which auto-adjusts between 310, 315, and 390 MHz for better range
| Learn Button Color | Frequency | Common with |
|---|---|---|
| Purple | 315 MHz | Security+ 2.0, newer Craftsman remotes |
| Orange/Red | 390 MHz | Older Sears Craftsman models |
| Green | 390 MHz | Billion Code Series, limited compatibility |
Pro Tip: If you’ve got multiple openers in one garage — like one belt drive and one chain drive — having compatible frequencies matters even more. Some multi-button remotes let you control both, but only if frequencies match.
Universal Remotes – Do They Work with Craftsman?
Here’s the good news: yes, universal garage door remotes work with most Craftsman garage door opener parts, especially models manufactured after 1993.
Popular choices include:
- LiftMaster 893MAX — works with Security+ and Security+ 2.0 systems
- Chamberlain KLIK3U-BK2 — compatible with major brands including Craftsman garage door opener parts 1/2 hp models
- LiftMaster 380UT — flexible, reliable, fits keychains or visors
- Universal remote control with visor clip — usually cheap and programmable
But again, make sure to:
- Check your opener’s learn button type and frequency
- Use the proper dip switch or programming method
- Confirm if your model supports myQ technology or not (older systems won’t)
Note: Some people get excited about smartphone control — and honestly, it is pretty convenient. But for that, your opener needs Wi-Fi connectivity or a separate myQ Smart Garage Hub. Not all Craftsman models are compatible out of the box.
Step 5 – Select the Correct Safety Sensors
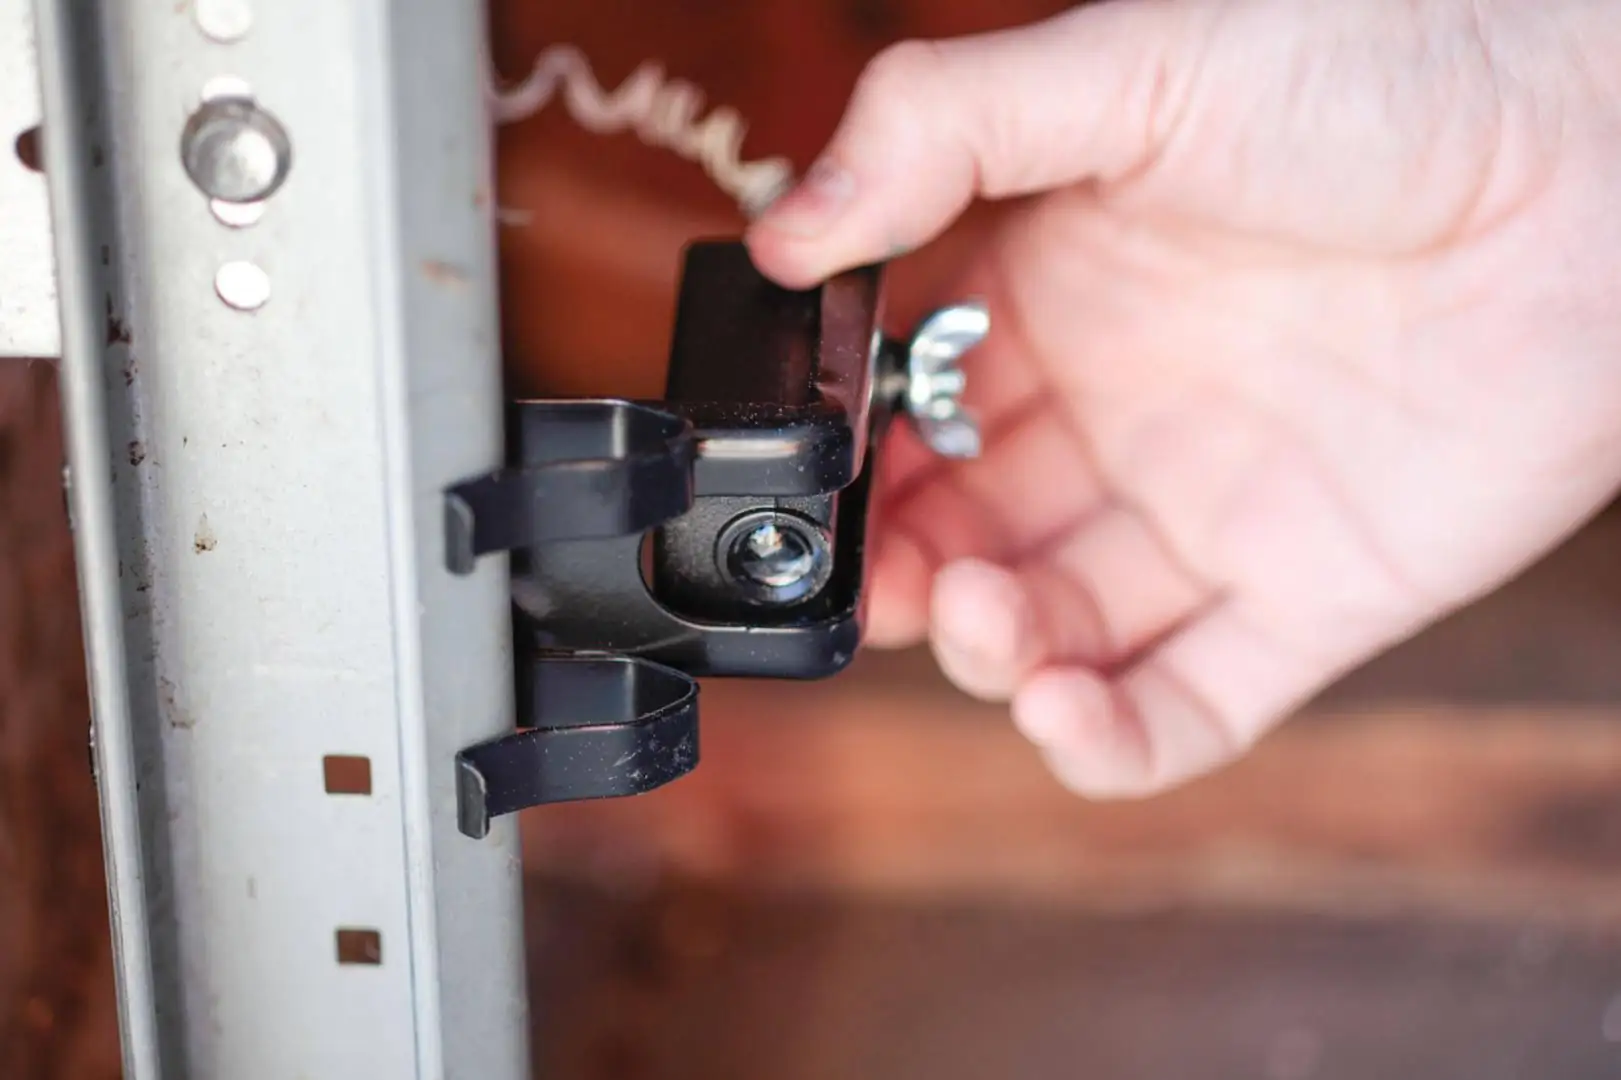
If your garage door refuses to close — or it starts to, then reverses with the lights blinking — your garage door safety sensors might be the issue. They’re finicky, and even a small bump can knock them out of alignment.
Craftsman sensors usually come in pairs, connected by low-voltage wires, and they work using infrared beams. If one is off or blocked, the system won’t let the door close fully.
To get the right Craftsman garage door opener parts, check:
- The part number on the back of the sensor housing
- The wire connectors (some use clips, others screw terminals)
- Your opener’s model number and compatibility list (especially if your system is older than 1997)
Common Part Names:
- Safety sensor kit
- Garage door sensor replacement
- Safety sensor eyes
- Safety sensor brackets (if yours are bent or missing)
Troubleshooting Sensor Issues
A lot of people replace sensors when the issue is actually something else — like misalignment or dirty lenses. So before you spend money:
- Check the LED lights:
- One should be solid green (receiver)
- The other might be amber (sender)
- Clean the lenses gently with a dry cloth
- Realign the brackets so both sensors face each other directly
- Inspect wires for nicks, bites (hello squirrels), or loose connections
If you still get errors after that, it’s probably time to replace the sensor kit. And remember, don’t mix sensor types — even if they look similar. Your Craftsman garage door opener parts compatibility depends on matched signal types.
Pro Tip: When installing a new sensor kit, run the wires away from high-humidity areas or floor-level moisture. Even small weather conditions — rain seeping in, damp concrete — can cause rust or sensor faults over time.
Step 6 – Consider Upgrading the Logic Board
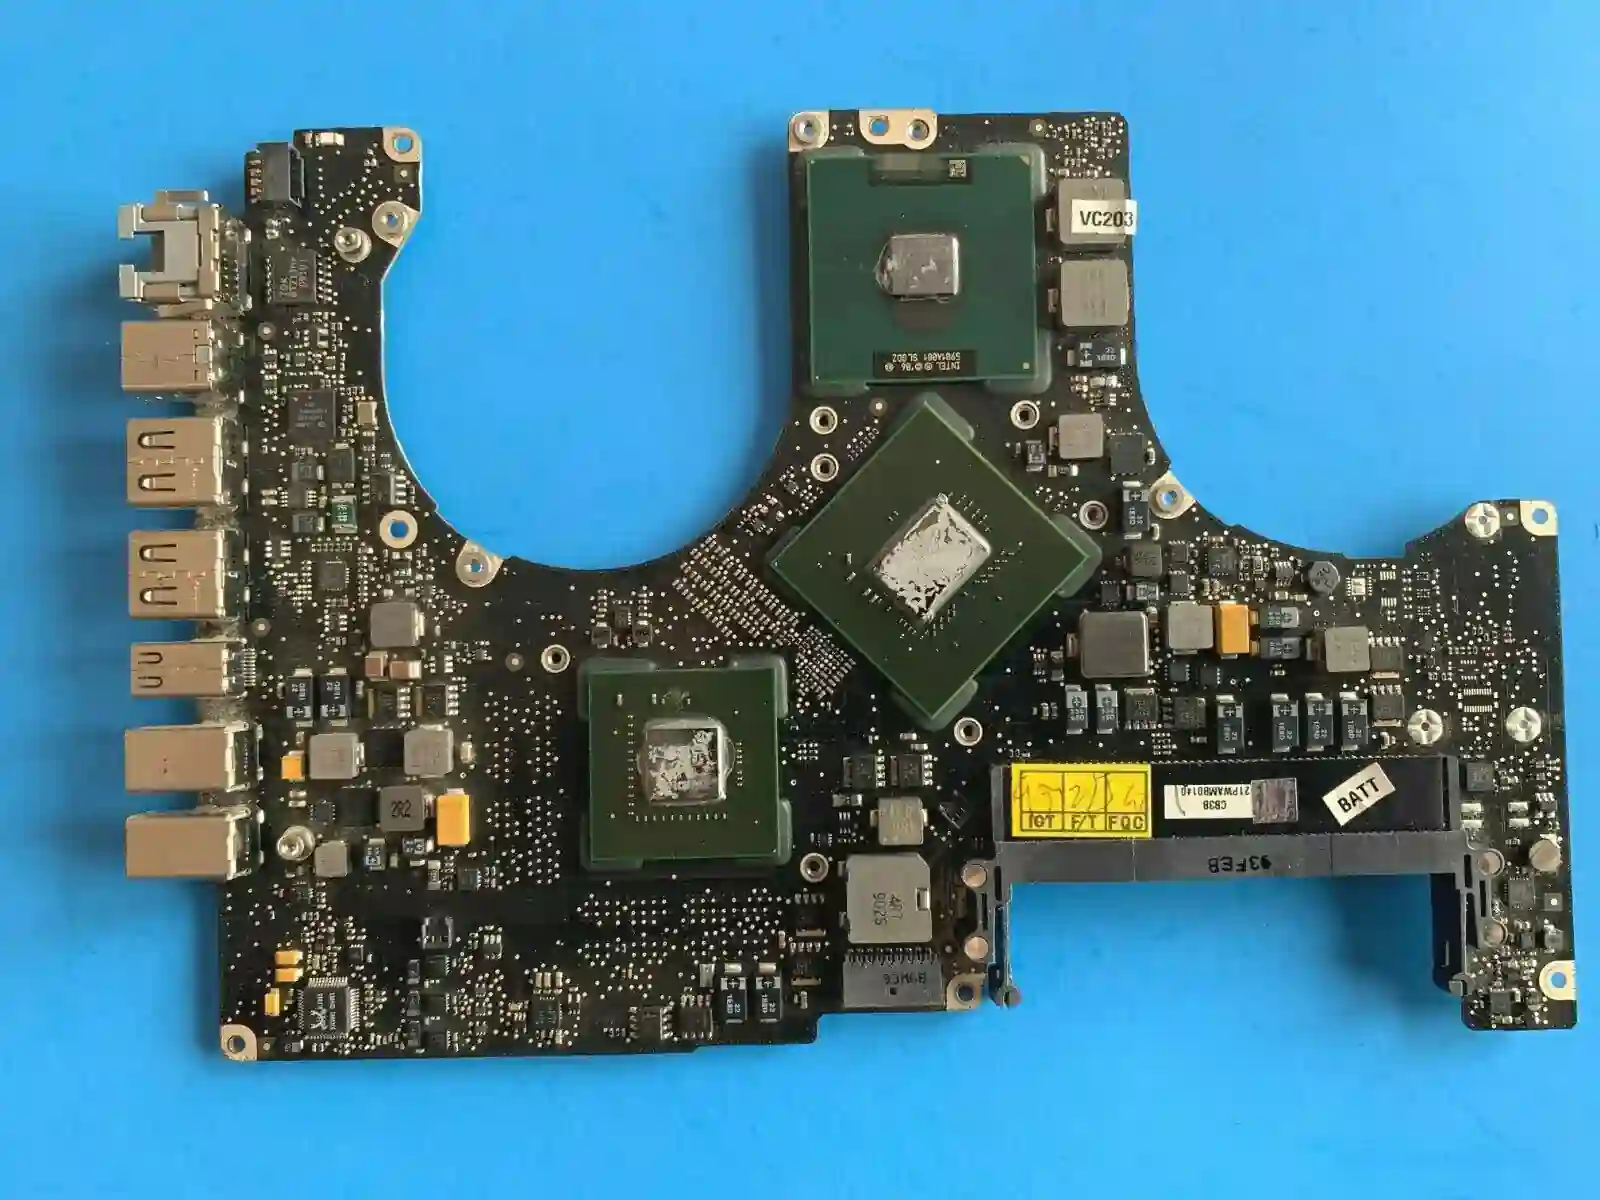
So… if the garage door motor is the muscle, the logic board is the brain. It handles all the little signals — from your remote, wall control, keypad, and even your garage door safety sensors — and tells your opener what to do next.
It’s also responsible for:
- Storing remote and keypad memory
- Managing open/close cycles
- Powering the light delay
- Processing inputs from the circuit board, control panel, and even Smartphone Control if supported
In other words, without it, your system’s kind of just a dumb motor sitting there humming.
If your Craftsman opener is misbehaving — lights blinking randomly, door reversing for no reason, remote signals being ignored — your logic board might be to blame. And for many older openers (like Craftsman 1/2 hp garage door opener models), a logic board swap can breathe new life into an otherwise fine setup.
Signs Your Logic Board Is Faulty
Here’s a short list of things that usually point to a faulty garage door operator logic board:
- Your remotes stopped working — all of them
- You’ve reprogrammed everything… and it still doesn’t hold the memory
- The wall panel beeps but does nothing
- The opener light flashes in weird codes or just stays on
- Your limit switch stops functioning, and the door keeps going past its travel point
Keep in mind, Craftsman boards come in multiple versions depending on frequency, Security+ 2.0, and operating logic (like Linear Mega-Code vs Billion Code Series).
Pro Tip: Don’t throw out your opener just because it’s acting weird. A replacement Craftsman garage door opener parts circuit board is usually way cheaper than a whole new unit — especially when you factor in installation costs.
When shopping, look for:
- Exact model compatibility
- Part number match (often printed directly on the old board)
- Whether the board supports Wi-Fi connectivity or myQ technology, if you’re looking to modernize
Also, don’t forget the installation hardware bag — you’ll often need new screws, insulators, or spacers to fit newer logic boards into older motor housings.
Step 7 – Shop Smart: Where to Buy Genuine Craftsman Parts
Now comes the part that’s both exciting and a little overwhelming — buying the actual parts.
There’s no shortage of websites offering Craftsman garage door opener parts, but not all sellers are created equal. Some are great. Others… let’s just say the photos and what arrives in the box aren’t always the same.
Here’s where DIYers usually shop (and yes, I’ve tested most of these for random things like garage door keypads, curved door arm sections, even a screw drive rack once):
| Store | Why It’s Worth Checking |
|---|---|
| Sears PartsDirect | Best for official part numbers, exploded diagrams, and Craftsman-specific help |
| Amazon | Tons of options, great for remotes and fast shipping — but vet sellers carefully |
| North Shore Commercial Door | Great customer service, known for carrying older and hard-to-find parts |
| eBay | Good for used or discontinued components, especially for older Craftsman models |
| LiftMaster/Chamberlain | Yes — remember, many Craftsman parts are just relabeled LiftMaster components |
And if you’re searching “Craftsman garage door opener parts near me”, don’t overlook local hardware stores or authorized service centers. They often stock common parts like garage door belts, limit worm gears, or light lens covers, especially for Craftsman 1/2 hp garage door opener parts list models.
Also Read For Eddinal Information: Unmissable 2025 Wood Stove for a Garage – Hot Pics Inside
Tips for Avoiding Counterfeit or Incompatible Parts
Some quick advice — learned the hard way, after a logic board from a sketchy seller arrived without a protective bag and died in two weeks:
- Double-check your model number before buying anything
- Read return policies — legit sites offer 30–90 days, especially for garage door accessories
- Avoid parts that claim to “fit everything” — they rarely do
- If the price is too good to be true, it probably is
- Watch out for parts with missing part numbers — especially circuit boards, sensors, and control panel
Pro Tip: Always save your old parts — even broken ones. They’re super handy for matching sizes, part numbers, or as a fallback reference when shopping.
Final Thought:
By now, you’ve probably realized that Craftsman garage door opener parts aren’t just “one size fits all.” The ecosystem of sensors, remotes, rails, logic boards, and mounting bits is more interconnected than it seems. Choosing the right part isn’t just about what looks like it might fit — it’s about compatibility, precision, and honestly, a little patience.
Maybe you’re just replacing a worn-out garage door remote or finally fixing that faulty garage door safety sensor that’s been blinking at you for months. Or maybe — like me once — you took the whole thing apart on a Sunday and realized you didn’t even know what a trolley assembly was until 4 YouTube videos later.
But that’s the charm of DIY garage fixes. You learn. You adapt. And eventually, with the right Craftsman garage door opener parts list in hand, things start working again. Smoothly. Reliably.
Before you click off, here’s one more suggestion:
Download or create a quick reference sheet with your model number, remote frequency (390 MHz or 315 MHz), and part numbers for things like your gear kit, capacitor, or limit switch kit. It’ll make future fixes way easier — especially if you’re helping out a neighbor or tackling another opener down the road.
And hey, if something didn’t make sense or you’re still unsure, drop a comment or check out our upcoming post on how to install Craftsman garage door opener replacement parts step-by-step. Sometimes, a second walkthrough just helps.
Frequently Asked Questions:
1. How do I know which Craftsman garage door opener parts I need?
Start with your model number — usually found under the light lens cover or on the motor. That number unlocks the full compatibility list, from garage opener remote replacements to chain drive rail assemblies.
2. Can I use a universal remote with my Craftsman opener?
Usually, yes. If your opener was made after 1993, most universal garage door remotes like the LiftMaster 380UT or Chamberlain KLIK3U will work — just check the frequency and learn button color.
3. What if my garage door only opens halfway and stops?
Could be a bad limit switch kit, a worn gear and sprocket, or even something simple like sensor misalignment. Listen for grinding sounds — that’s often your motor gear crying for help.
4. Is it safe to buy Craftsman garage door opener parts from Amazon?
Yes, but double-check reviews and part numbers. Some sellers offer generic replacements that aren’t true OEM. For genuine garage door opener components, stick to verified listings or Sears PartsDirect.
5. My opener has a red/orange learn button — what does that mean?
That’s a 390 MHz frequency, common on older Billion Code Series units. Make sure your Craftsman garage opener remote matches — newer Security+ 2.0 systems use different remotes and logic boards.
6. Do all Craftsman models use the same safety sensors?
Not quite. Many are similar, but always check your model. Mixing sensors — even if they plug in — can cause the door to malfunction. Look for matching sensor brackets, lenses, and wire types.
7. Can I upgrade my old opener to use Wi-Fi or smartphone control?
Only if your unit supports myQ technology or if you add a myQ Smart Garage Hub. Otherwise, older models (especially screw drive openers) may not be compatible.
8. What’s better: belt drive or chain drive systems?
Chain drives are tougher, often used in Craftsman 1/2 hp garage door opener models. Belt drives are quieter but can be more expensive. It depends on what you value — noise control or durability.
9. Where’s the best place to find Craftsman garage door opener parts near me?
Try local hardware stores or service centers first — especially for common parts like Garage Door Idler Pulleys or Light Lens Covers. For rare items, check online at North Shore Commercial Door, Sears PartsDirect, or eBay.
10. My opener randomly opens by itself — is that a logic board issue?
Most likely. If your garage door opener remote isn’t being used and the door still opens, it’s often the logic board misfiring. Try a reset. If that doesn’t work, time to replace it.