So, here’s the thing: garages get really hot in the summer and freezing in the winter. You’ve probably noticed that if you’ve ever gone to grab something out there and immediately regretted life.
That’s why figuring out insulation for garage door — even if it feels like a weird DIY project — might be more worth your time than you think.
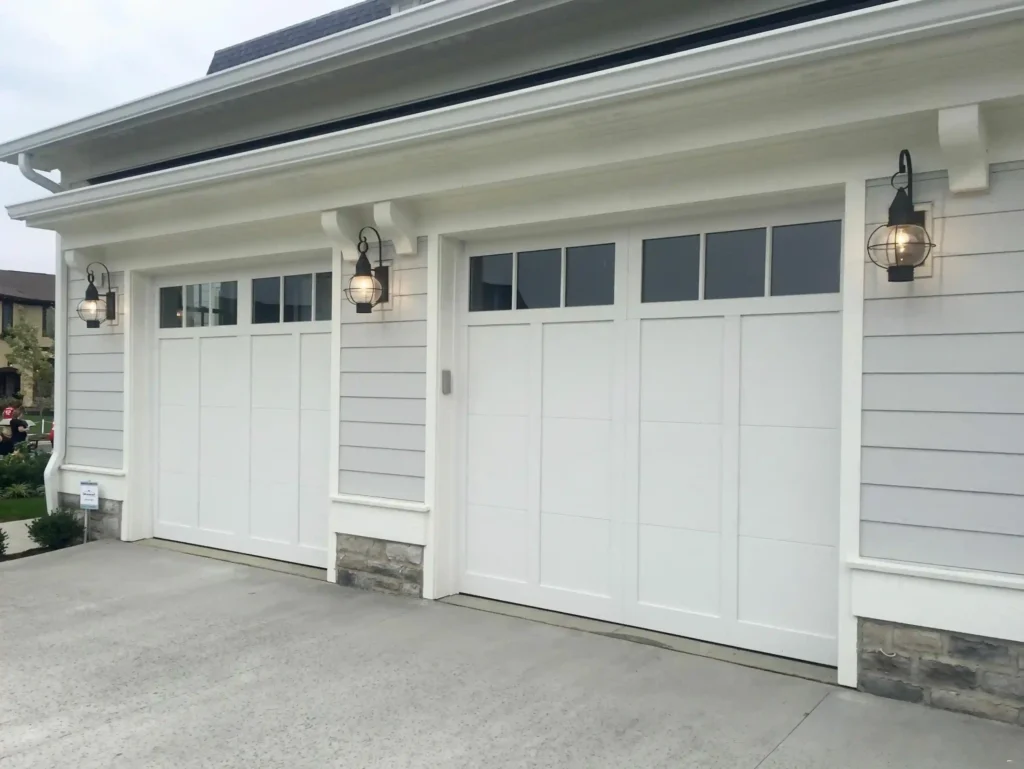
Insulation for Garage Door: A Quick 8 Steps Guide for Self Installation
You don’t need to be an expert, or even particularly handy. Honestly, I wasn’t either when I first tried this. Just someone mildly annoyed with their energy bills and maybe tired of tools feeling like icicles. Here’s a step-by-step guide that, hopefully, won’t feel overwhelming.
Step 1: Look at Your Garage Door. Really Look.
Before grabbing anything off the shelf (or adding a 2 car insulation for garage door kit to your cart just because it’s on sale at Lowe’s or Home Depot), take a breath and assess. What kind of door do you have? Metal? Something older? Is it hollow or already partially insulated?
Some doors come with a bit of built-in insulation. Others? Just thin sheets of metal that leak heat like nobody’s business. If yours feels like the latter, it’s definitely time.
Also, measure. Even if you think it’s a standard 16 ft garage door — double-check. It sounds obvious, but a lot of people (me included) end up cutting panels twice because they guessed the first time. Not fun.
Step 2: Pick Your Insulation Type (Without Going Cross-Eyed)
Here’s where things get a bit fuzzy. There’s no one “best insulation for garage door” — it depends on your door, your goals, and your patience.
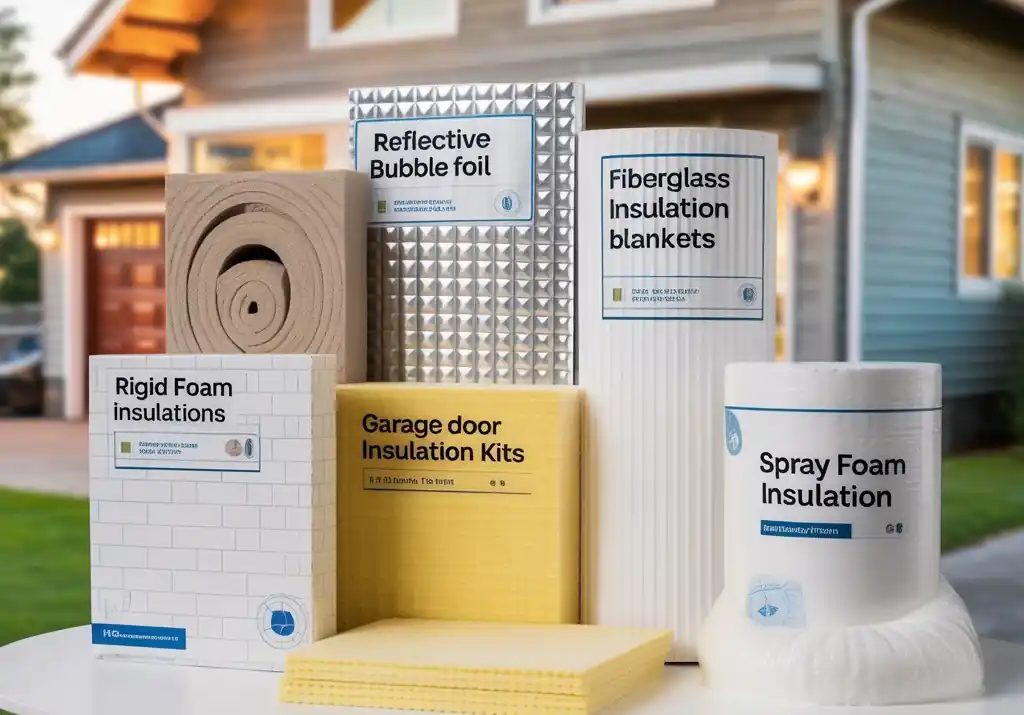
Let me break down the big ones:
- Rigid Foam Panels (like Cellofoam Garage Door Insulation): Lightweight, easy-ish to cut, solid R-value. Good for metal garage doors.
- Reflective Bubble Foil: Think of this like a space blanket for your garage. It reflects radiant heat really well. It’s not bulky, which is great.
- Fiberglass Insulation Kits: Like the pink stuff in your attic. Works, but can be itchy and kind of messy. I wouldn’t start here if you’re new.
- Garage Door Insulation Blankets: Soft, thick, and kind of cozy-looking. A little heavy, though.
- Spray Foam: Super effective. Also super messy. And hard to undo if you mess it up.
Premade kits are helpful — a lot of people like the Insulation for Garage Door Kit from Home Depot or even the Cellofoam kit — mostly because they’re built for standard door sizes. But again, check those measurements.
Step 3: Clean the Door (Yes, You Have To)
Grab a degreaser or some isopropyl alcohol and wipe down those garage door panel. Even if they look clean, garage doors get this weird dusty film on them that keeps adhesive from sticking. It’s kind of annoying, but if you skip this, your insulation might start peeling off by next Tuesday.
I skipped this once. Peeled like old wallpaper. Not proud of it.
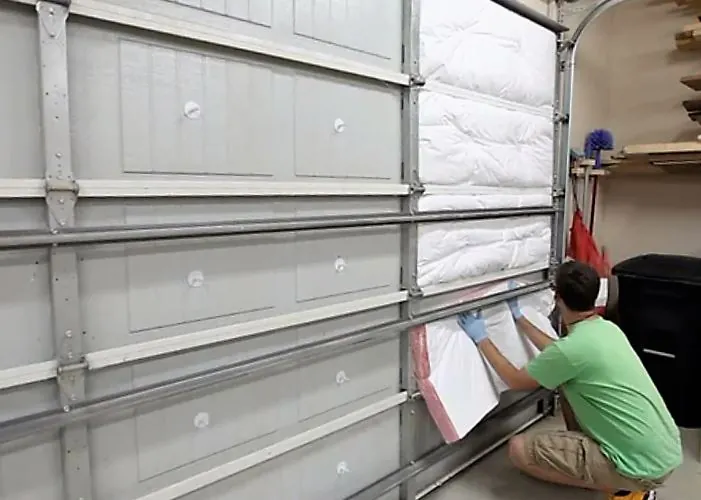
Step 4: Cut Your Insulation (Slow Down, It Matters)
Once your panels are clean and dry, it’s time to cut. Use a utility knife or scissors, a straight edge, and your measurements. Go one panel at a time. Don’t rush.
If you’re using rigid panels, measure twice and dry-fit before sticking anything. For soft insulation (like a garage door insulation blanket), expect some squish. That’s fine. Just don’t force it into a space it clearly doesn’t want to live in.
Step 5: Stick It Down (Gently But With Conviction)
Most insulation kits include some kind of double-sided tape or adhesive tabs. If not, you’ll need to pick up some aluminum foil tape or strong double-sided foam tape. That’s what keeps the panels from sagging over time.
Apply tape around the edges of each panel (and maybe one or two strips in the middle if it’s a big one). Press firmly. Then gently place the insulation piece in, and press again.
This part feels boring but honestly kind of satisfying. Like when a sticker lines up perfectly.
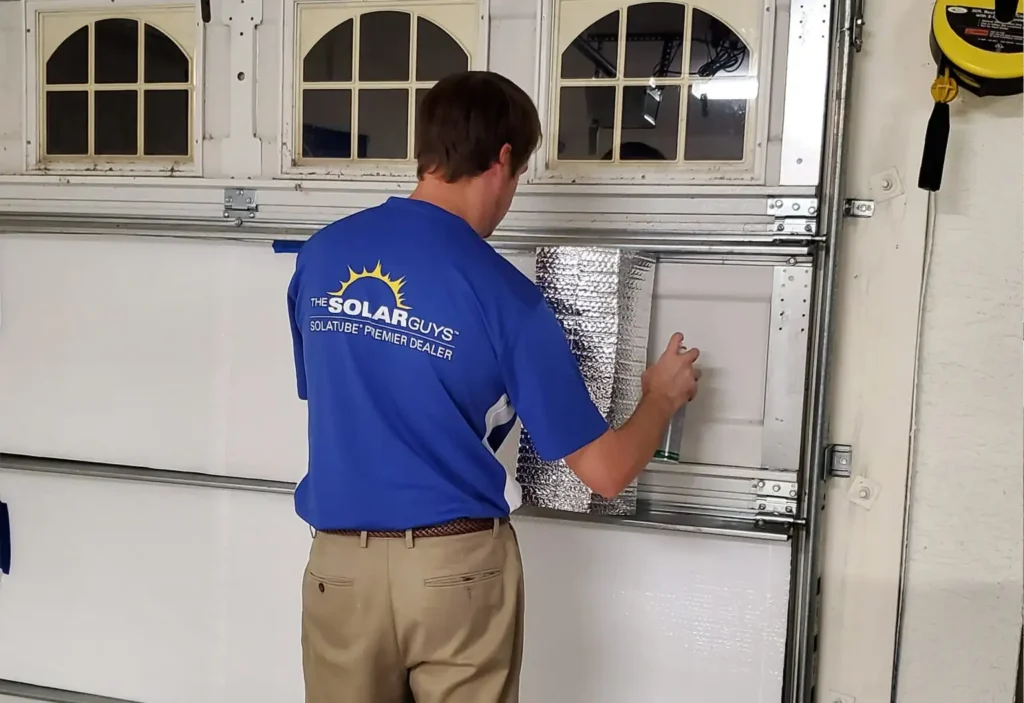
Step 6: Seal the Edges (Or Don’t — But Maybe Do)
You can stop after sticking your panels in. Plenty of folks do. But if you want the best thermal resistance, consider taping the edges down fully. Foil tape works great here.
Sealing helps trap air, which increases insulation. It also just looks cleaner, like you knew what you were doing. Even if you were kind of winging it.
Step 7: Test the Door (Please, Please Test It)
After everything’s installed, open and close the garage door a few times. Listen for weird noises. Watch for sagging or pieces shifting. If it feels like the door is heavier — and it probably will be — you might need to adjust the garage door springs.
It’s a good idea to call a pro if you’re not familiar with spring tension. Honestly, I don’t mess with that part. Not worth the risk.
Step 8: Notice the Difference (Slowly But Surely)
It’s not like flipping a switch. But over the next few days, you might notice it’s not as freezing cold in the morning when you grab something from the garage. Or that the garage door opener doesn’t sound like it’s struggling.
And, maybe — just maybe — your energy bills take a tiny dip.
No promises, but I’ve seen it happen.
A Few Extra Thoughts (Because Why Not)
- If your garage attic isn’t insulated either, you’re losing a lot of heat through the top. Consider something like an Energy Guardian R-38 Attic Ladder Insulation Cover.
- Insulation for garage doors are becoming standard with some garage door manufacturers — Clopay garage doors, for example, often include built-in insulation. So if you’re shopping for a new one, keep that in mind.
- Check your garage door opener and motor — if it’s older, the added weight might wear it out faster. Not immediately, but something to be aware of.
And hey — if all else fails and you hate how it looks or works? You can peel it off and try again. DIY doesn’t have to be perfect.
Final Thoughts
So yeah, insulation for garage door might not be the most glamorous weekend project — no one’s posting before-and-after pics of thermal resistance on Instagram. But honestly? It’s kind of satisfying.
It’s one of those upgrades you feel more than see, especially when the seasons change. Your tools don’t frost over. The garage doesn’t feel like a furnace. And maybe — just maybe — you stop dreading the walk to the deep freezer.
It’s not perfect. Nothing DIY ever is. But that’s okay. You gave it a shot, saved a little money, and made your space a bit more livable. That counts for something.
Frequently Asked Questions
1. Do I really need garage door insulation?
If your garage turns into an oven or a freezer, yeah — you’ll appreciate it. Especially if there’s a room above or next to the garage.
2. Can I just buy a pre-insulated garage door instead?
Sure, if you’ve got the budget. Brands like Clopay garage doors offer that. But DIY is usually cheaper.
3. What’s the best insulation for garage doors?
It depends. Rigid panels are solid for most folks. Reflective foil is great in hot climates.
4. How long does it take to install a garage door insulation kit?
Couple of hours, tops. Less if you don’t overthink it. More if you’re like me.
5. Will it mess with my garage door springs?
Maybe. If the weight goes up, the springs may need adjusting. Don’t ignore it.
6. Are the kits from Lowe’s or Home Depot any good?
Yeah. Especially if you go with a 2 car garage door insulation kit. Just double-check the size.
7. What’s this I hear about thermal break and R-value?
R-value is how well the material resists heat flow. Thermal break is just a fancy way of saying the material helps stop heat from passing through.
8. Can I reuse the insulation later?
Kinda. If you’re careful removing it, sure. But some adhesives won’t come off clean.
9. Why is my garage still cold even with insulation?
Check other gaps — like around the door or attic. One fix rarely solves everything.
10. Is this really worth the effort?
Maybe not today. But next winter when your garage isn’t freezing? Probably, yeah.